How to Install PostgreSQL and pgAdmin on Windows 10/11
Installing PostgreSQL for the first time? This guide walks you step-by-step through the process of downloading and installing PostgreSQL along with pgAdmin, its official graphical user interface. Whether you're setting up a development environment, learning SQL, or starting your first project with a relational database, this tutorial will help you get everything up and running smoothly on Windows.
1. Download PostgreSQL Installer
1.1 Open Your Browser
In your browser, type the phrase postgresql download and hit Enter.
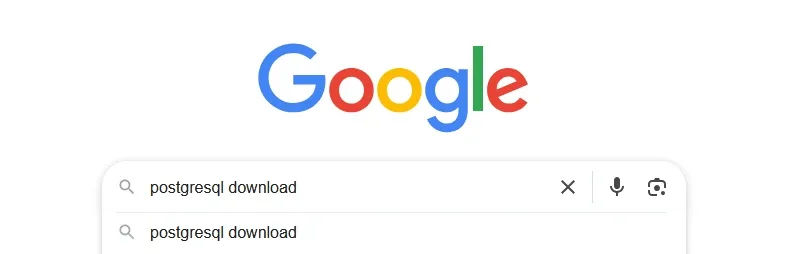
1.2 Navigate to postgresql.org
Google will show several results, with the official website postgresql.org typically at the top.
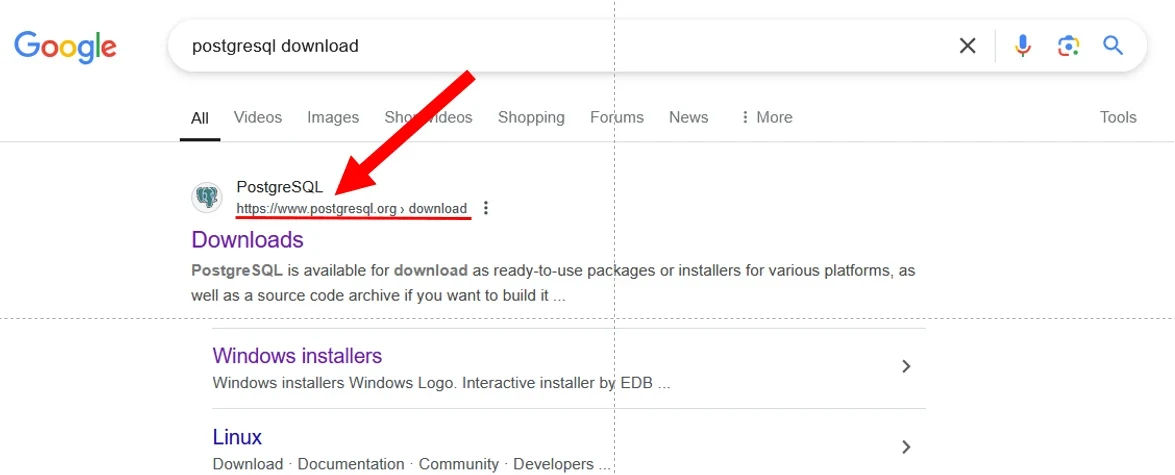
1.3 Select your operating System
Click the postgresql.org link to open the PostgreSQL download page. Choose your platform. Since I’m using Windows, I’ll choose that option.
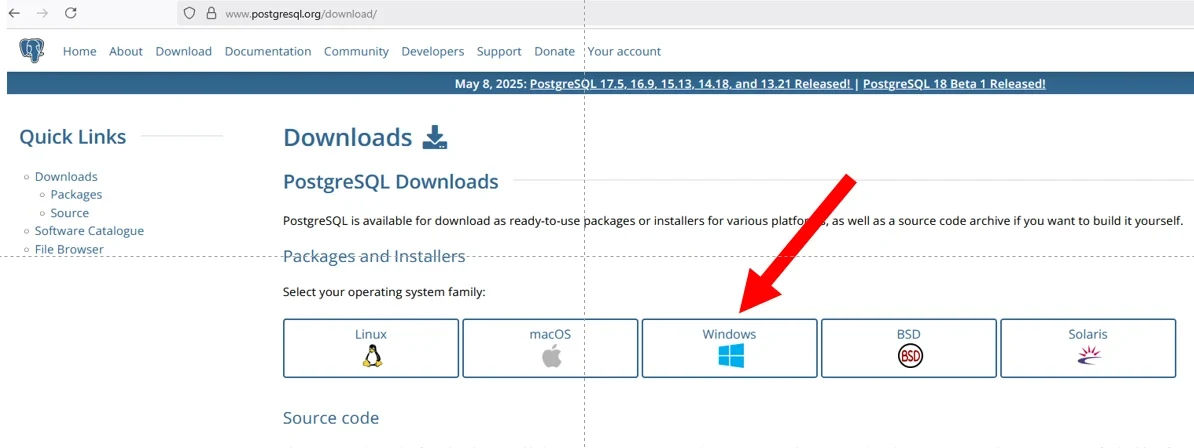
1.4 Download the installer
After selecting Windows, you’ll be taken to the Windows installer page. Click on the first option under "Interactive Installer by EDB" that says Download the installer.
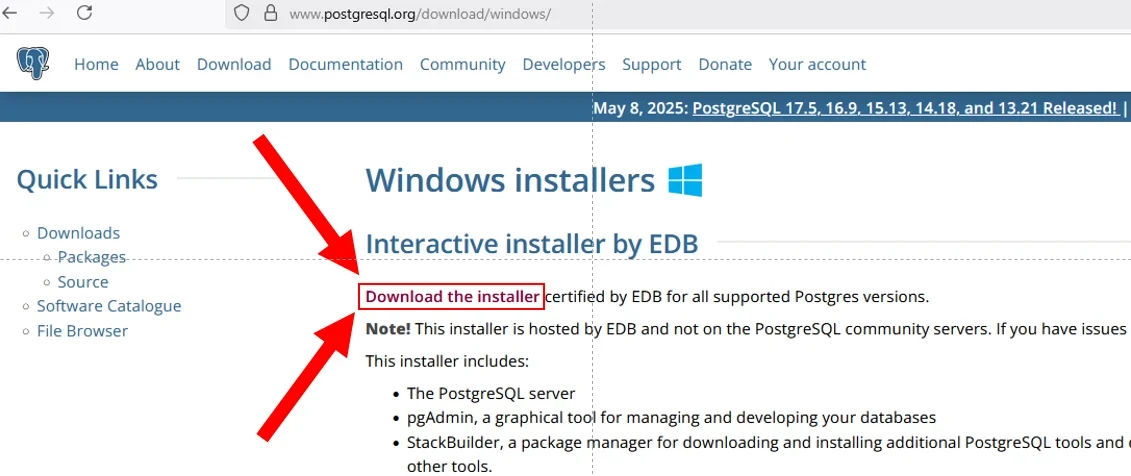
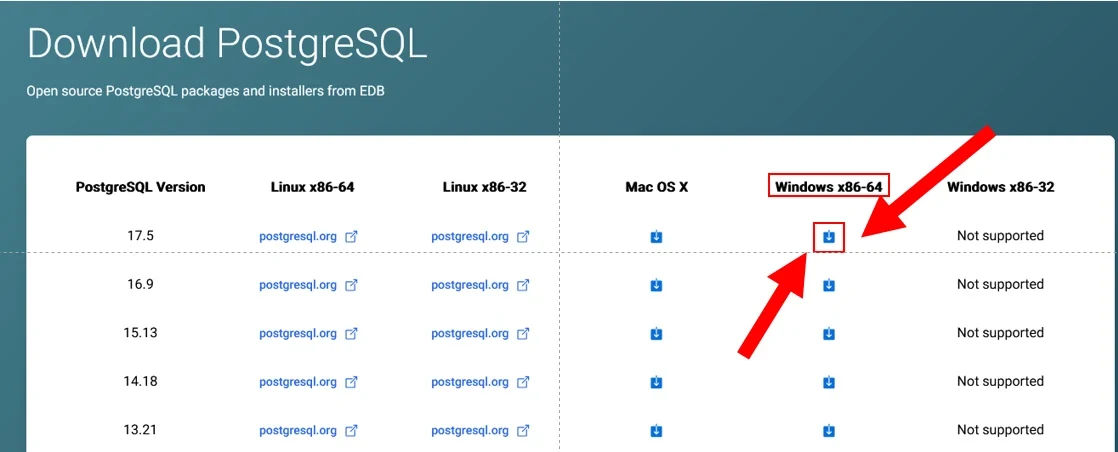
Now you’ll see a list of PostgreSQL versions and download options. Scroll to Windows x86-64 and click the download icon to start the download.
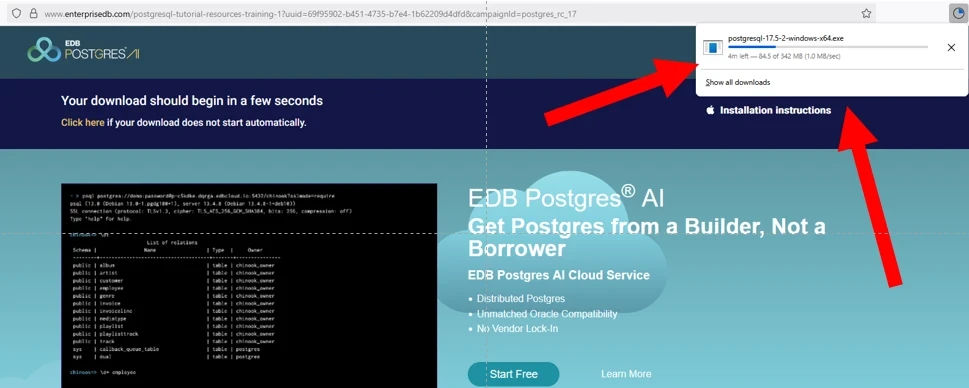
During the download, you’ll see a progress indicator. In Firefox, it appears in the top-right. In Chrome, it’s usually in the bottom-left.
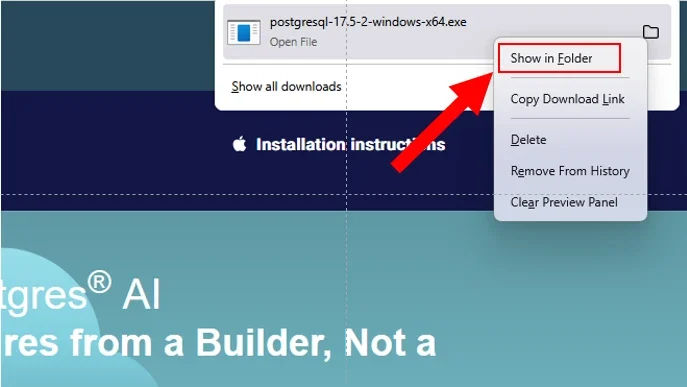
Once downloaded, right-click and select Show in Folder, or go to your Downloads folder.
2. Run the Installer and Configure Setup
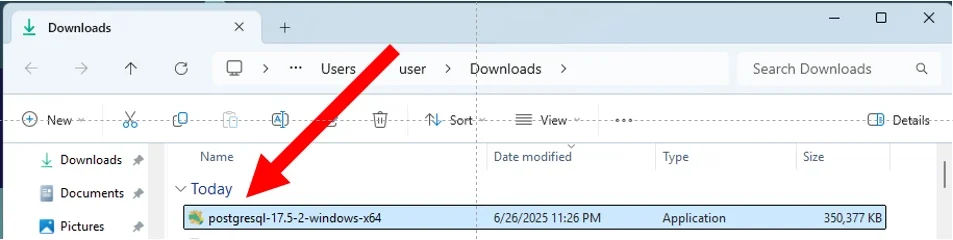
The file should appear in your Downloads folder.
2.1 Launch the installer
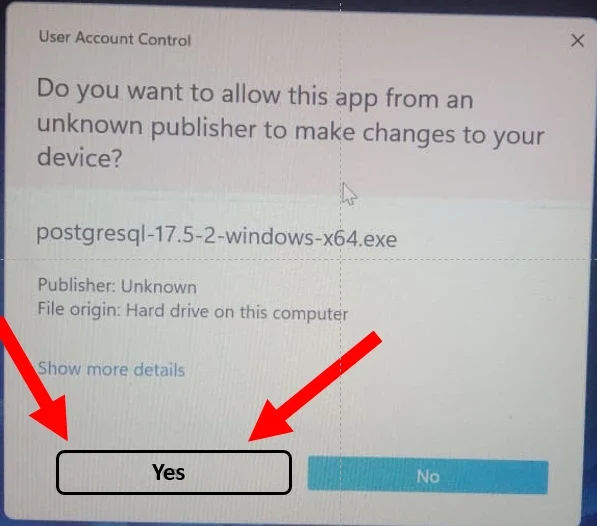
Double-click the installer to begin. If prompted by User Account Control, click Yes to proceed.
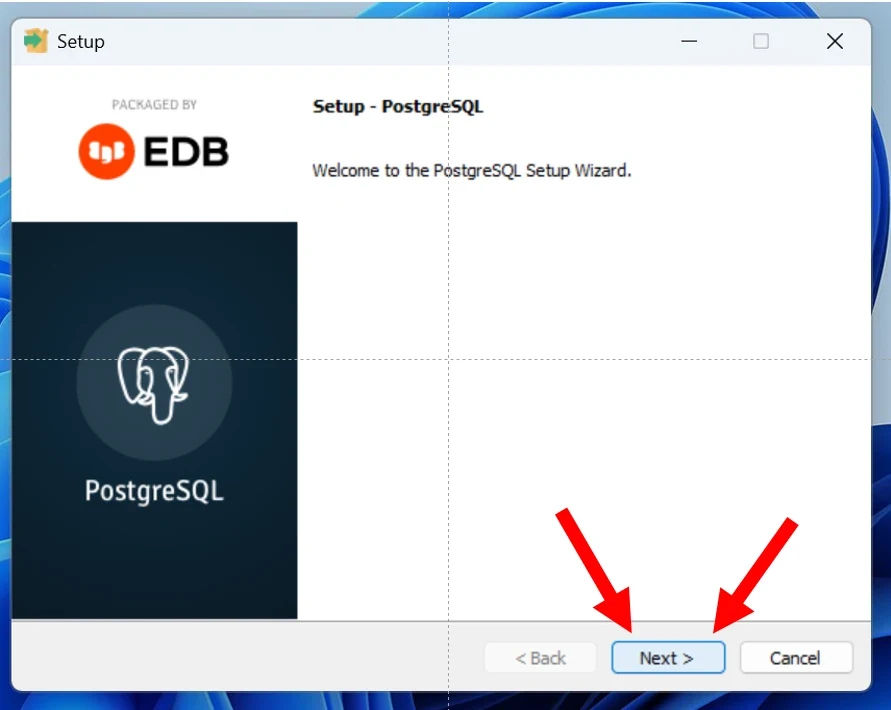
Once the setup wizard opens, click Next.
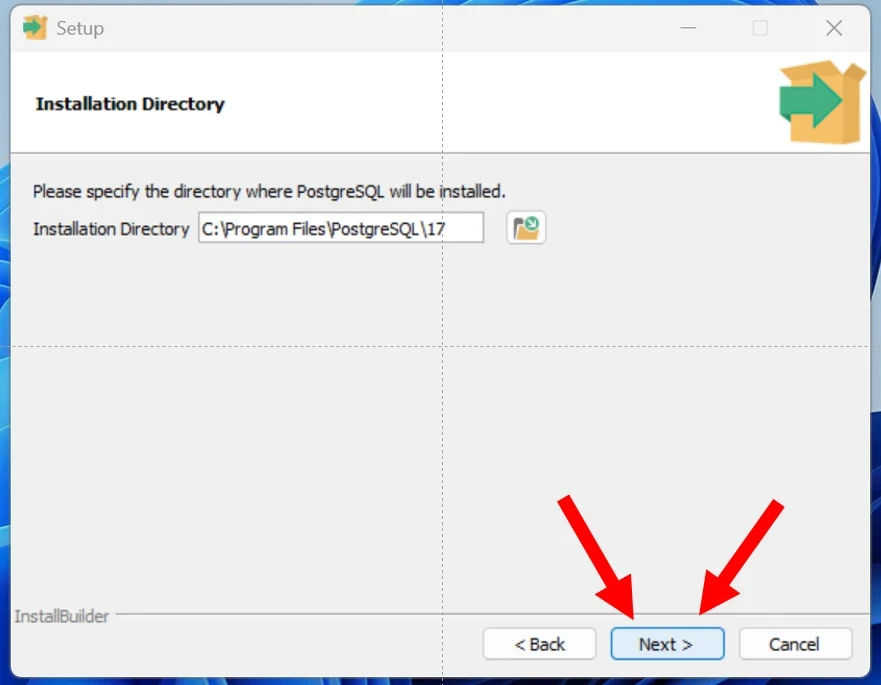
2.2 Choose Installation Directory
You’ll now choose where PostgreSQL should be installed. The default is fine in most cases. Click Next.
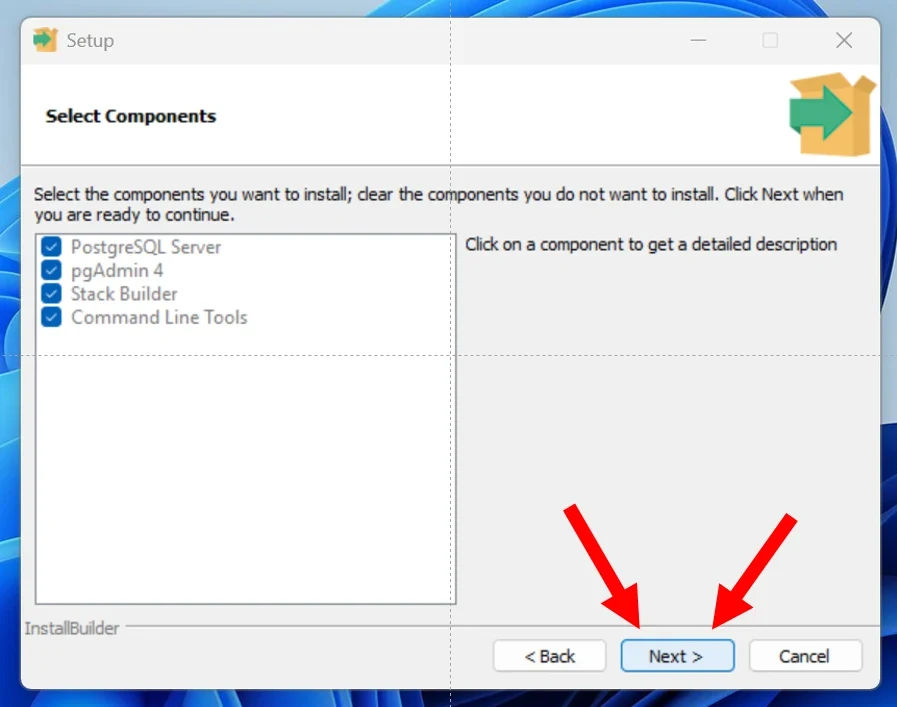
2.3 Select Components
Keep all components selected (recommended):
- PostgreSQL Server – the core engine
- pgAdmin 4 – graphical interface for managing databases
- Stack Builder – for future add-ons (optional)
- Command Line Tools – CLI utilities like
psql
Click Next.
2.4 Choose Data Directory
This is where PostgreSQL will store your actual database content. You can leave it as default.
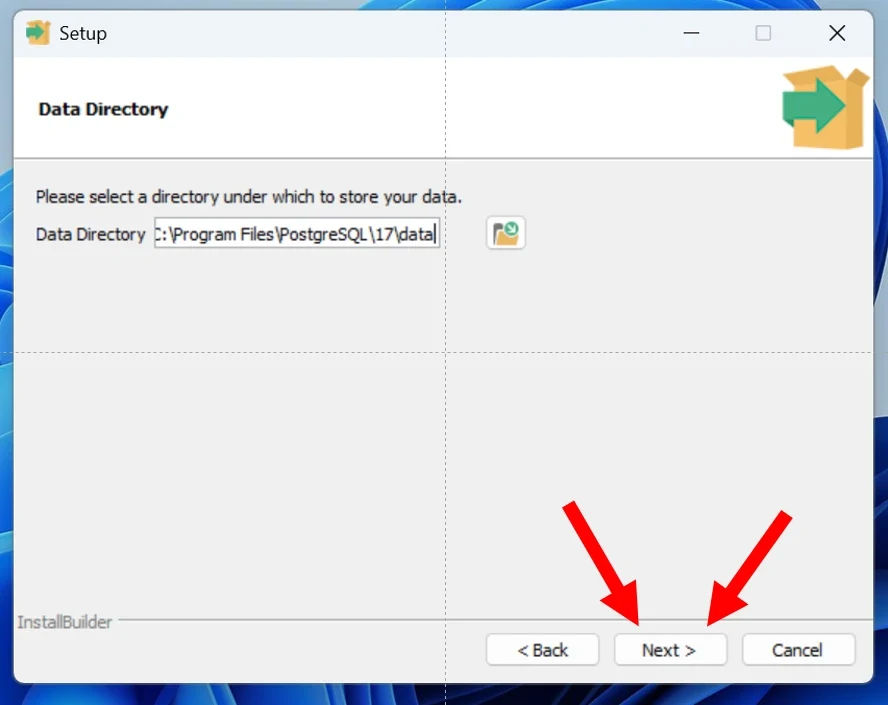
Key Difference Between Installation Directory and Data Directory
| Aspect | Installation Directory | Data Directory |
|---|---|---|
| Purpose | Stores PostgreSQL software/tools | Stores databases and configuration |
| Effect on Uninstall | Can be removed and reinstalled | Must be backed up to preserve data |
| Typical Location | C:\Program Files\PostgreSQL\16\ | C:\Program Files\PostgreSQL\16\data\ |
3. Set Up Database Configuration
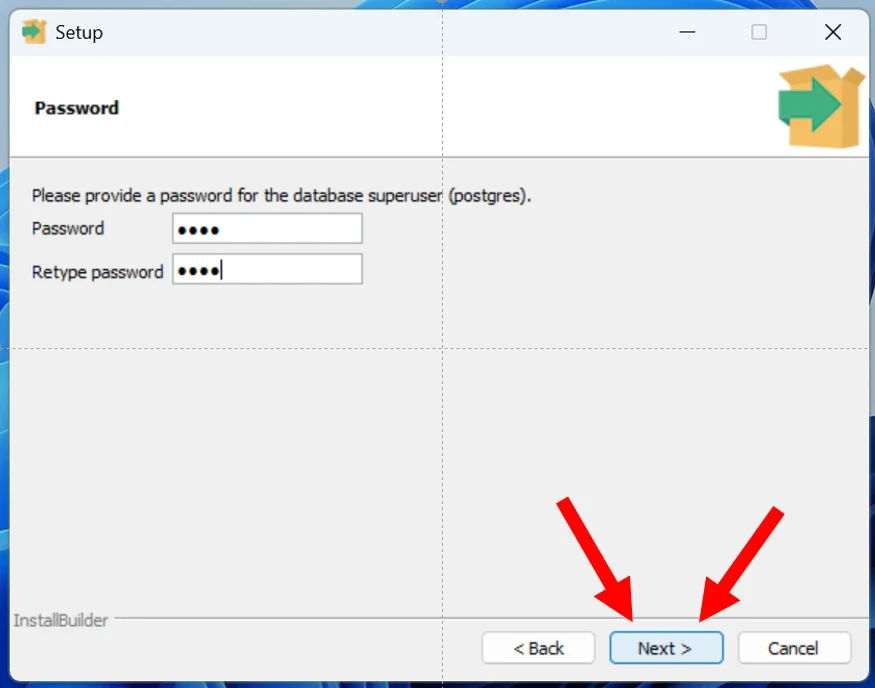
3.1 🔐 Set Password for PostgreSQL Superuser (postgres)
Set a password for the default superuser postgres. Choose a strong and memorable password.
✅ You'll need the password to:
- Connect using pgAdmin or psql
- Create databases
- Use PostgreSQL from your code (Node.js, Python, etc.)
📝 Tip: Save it in a password manager if needed.
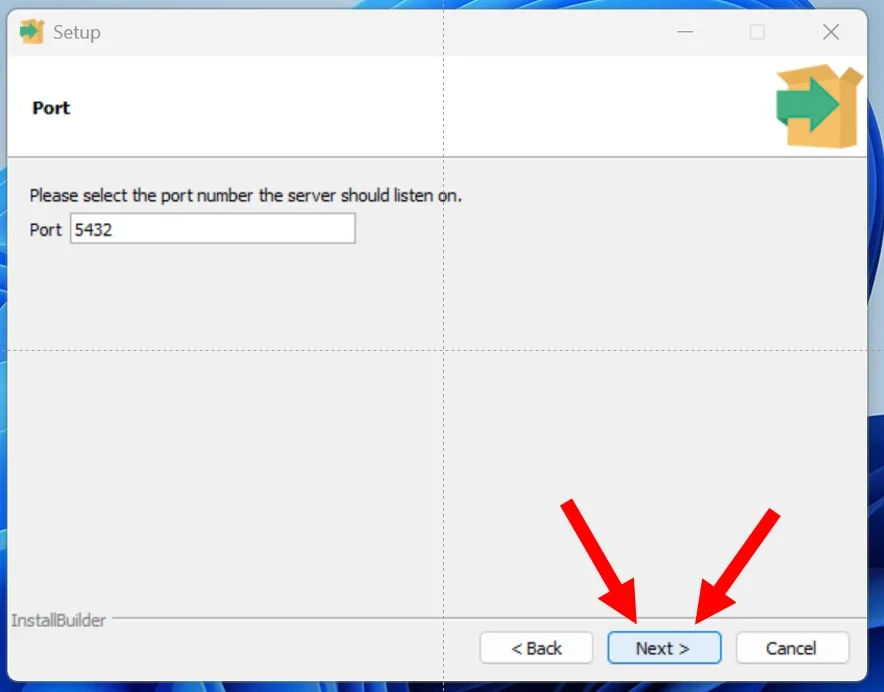
3.2 Select Port Number
Default port is 5432 — leave it unless you know you need to change it.
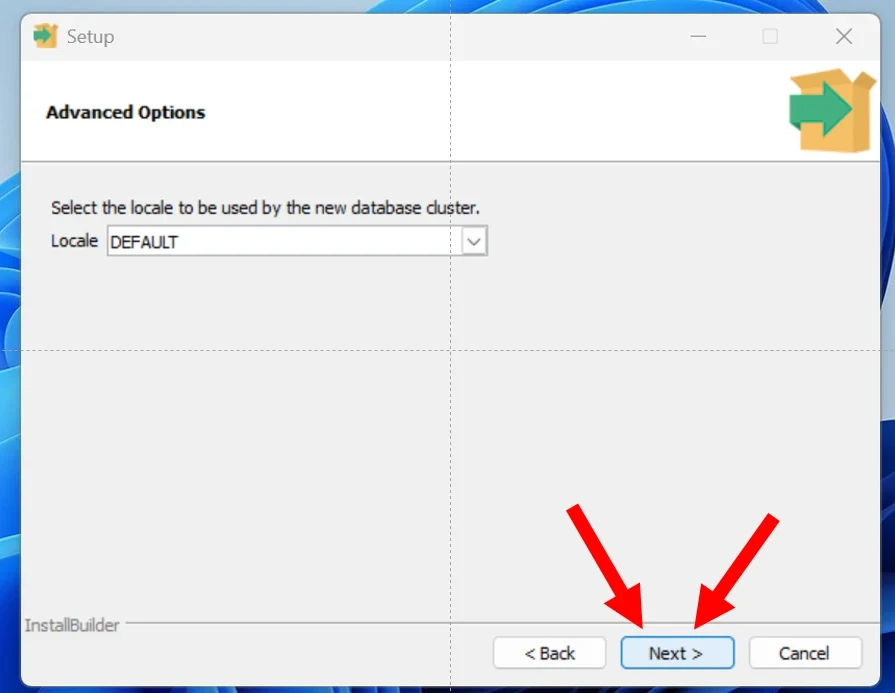
3.3 Select Locale for the Database Cluster
Leave this as your system's default locale (e.g., en_US).
4. Review & Install
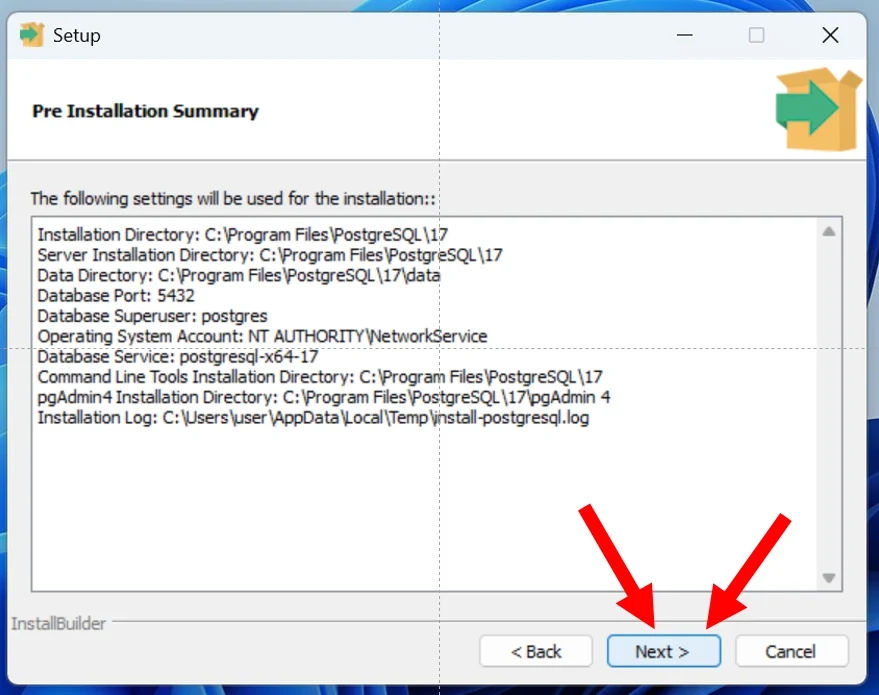
4.1 Step: Pre-Installation Summary
Review all settings one last time (install directory, data directory, port, locale, etc.), then click Next.
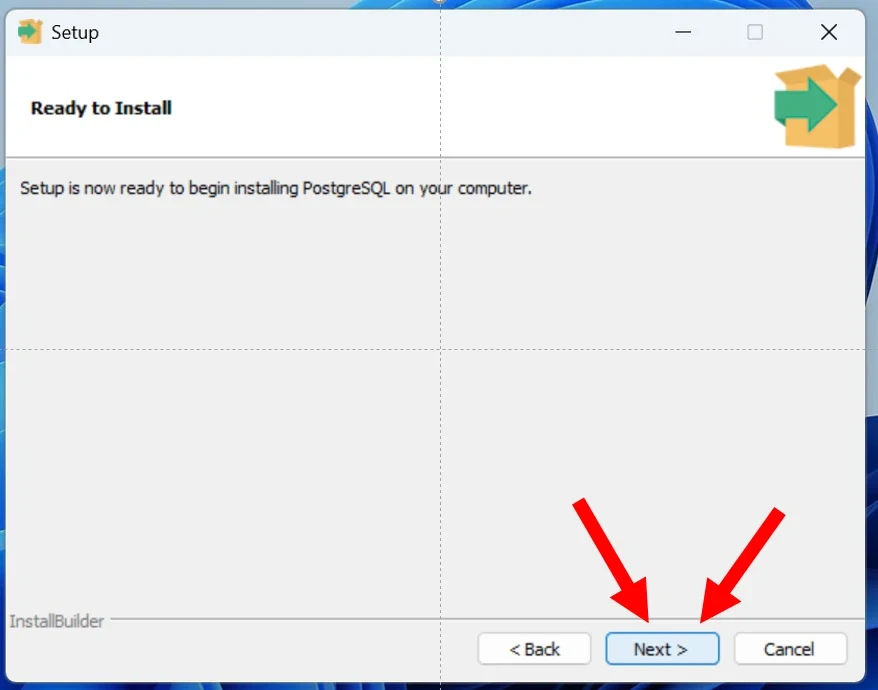
4.2 Start the installation
Click Next to begin installation. This may take a few minutes.
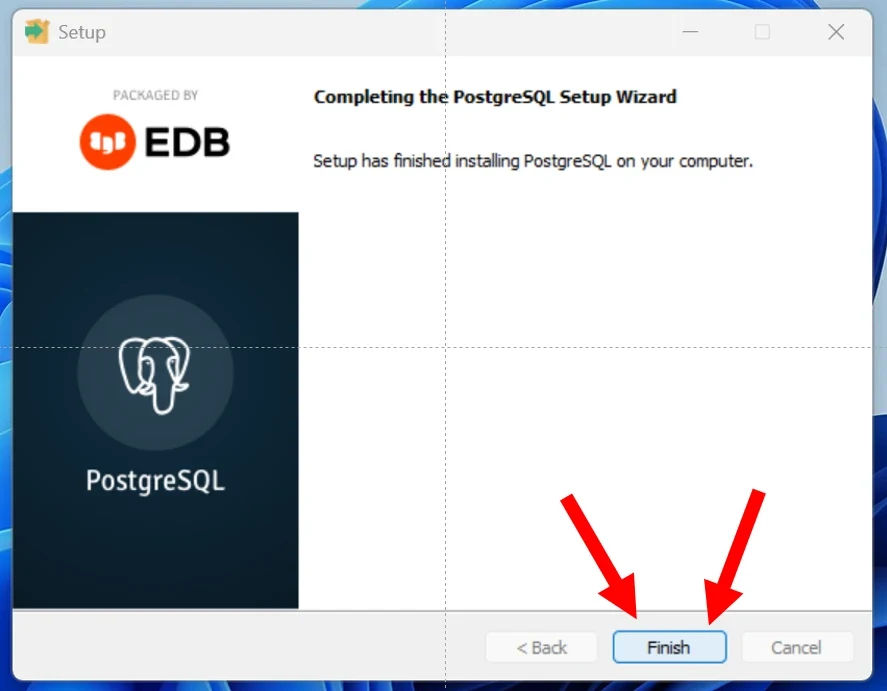
4.3 Finish installation
Once complete, click Finish.
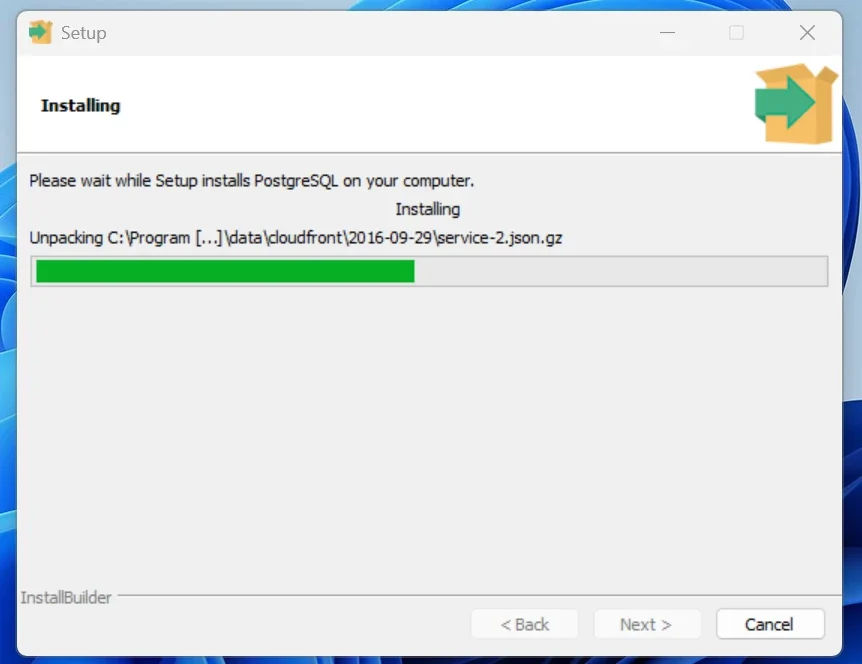
Congratulations — PostgreSQL is now installed!
5. Verify Installation with pgAdmin
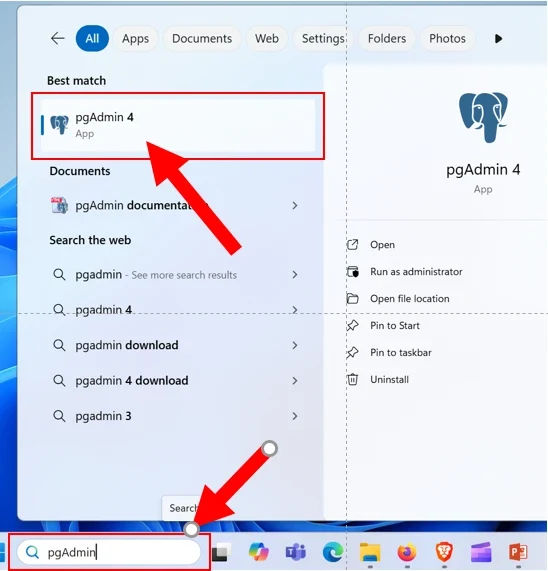
5.1 Launch pgAdmin
Open pgAdmin from the Start Menu. It may take a few moments to load on first run.
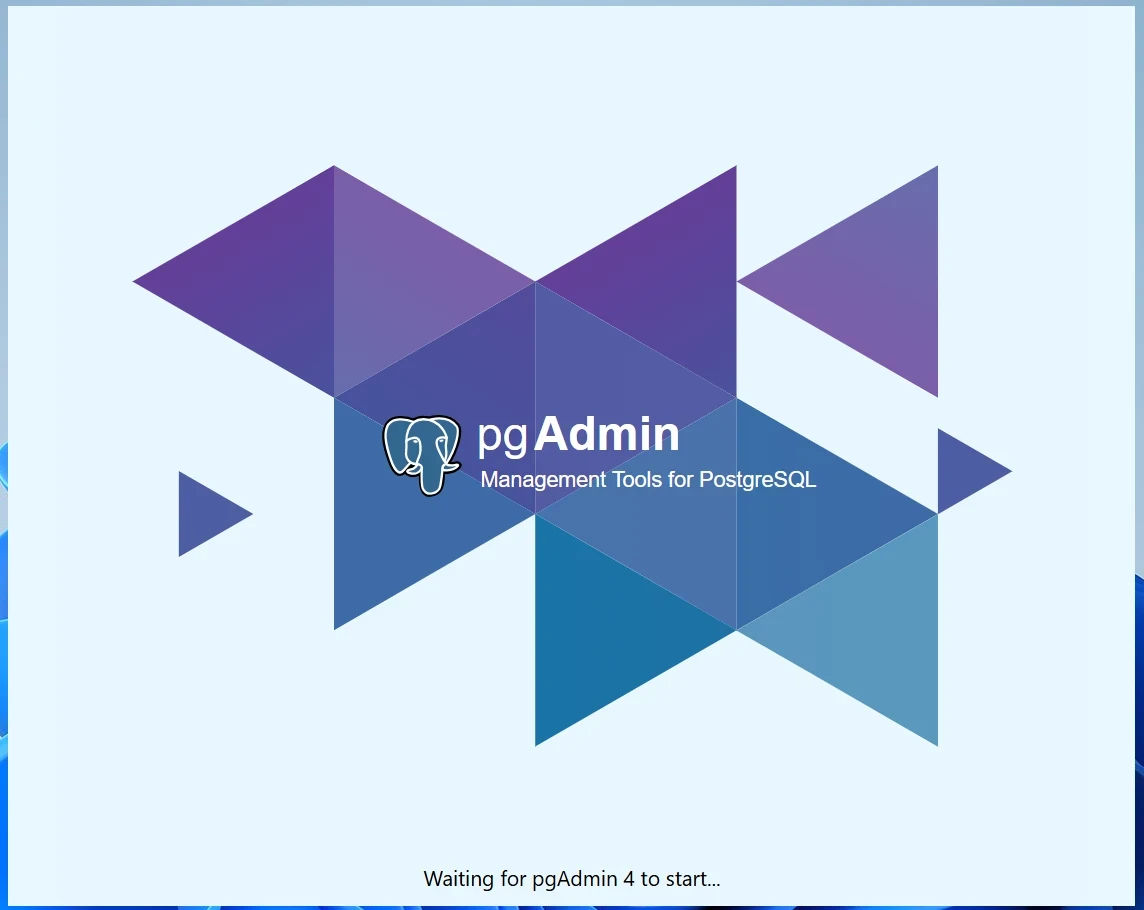
Wait while pgAdmin loads...
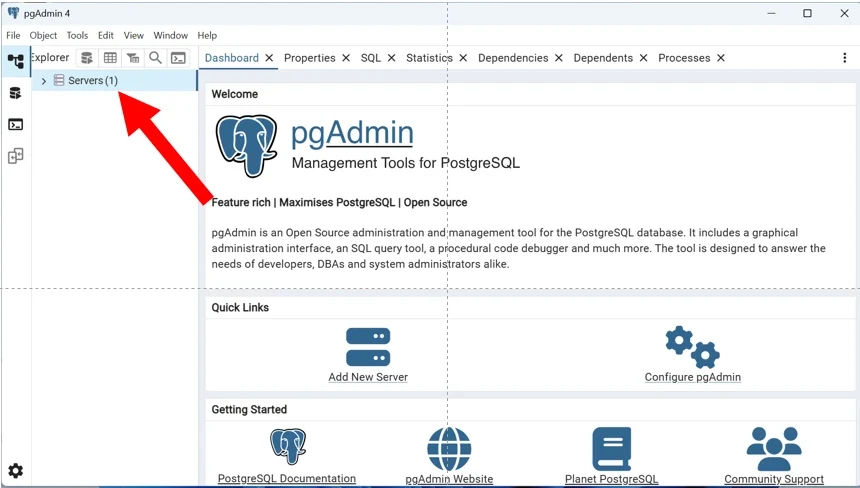
5.2 Connect to the server using your password
Click on Servers, then on PostgreSQL 17.
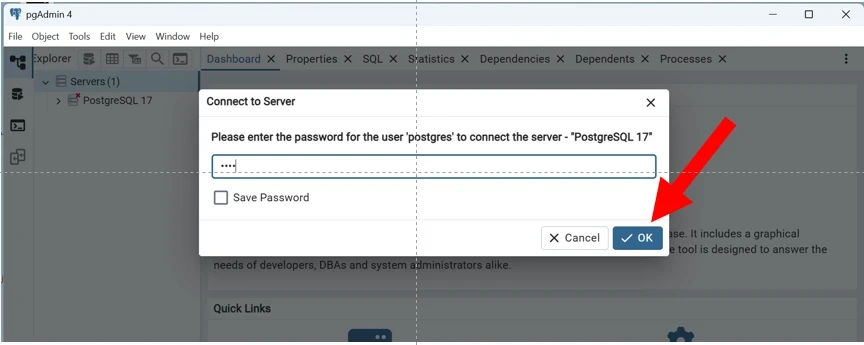
Enter the password you created earlier and click OK.
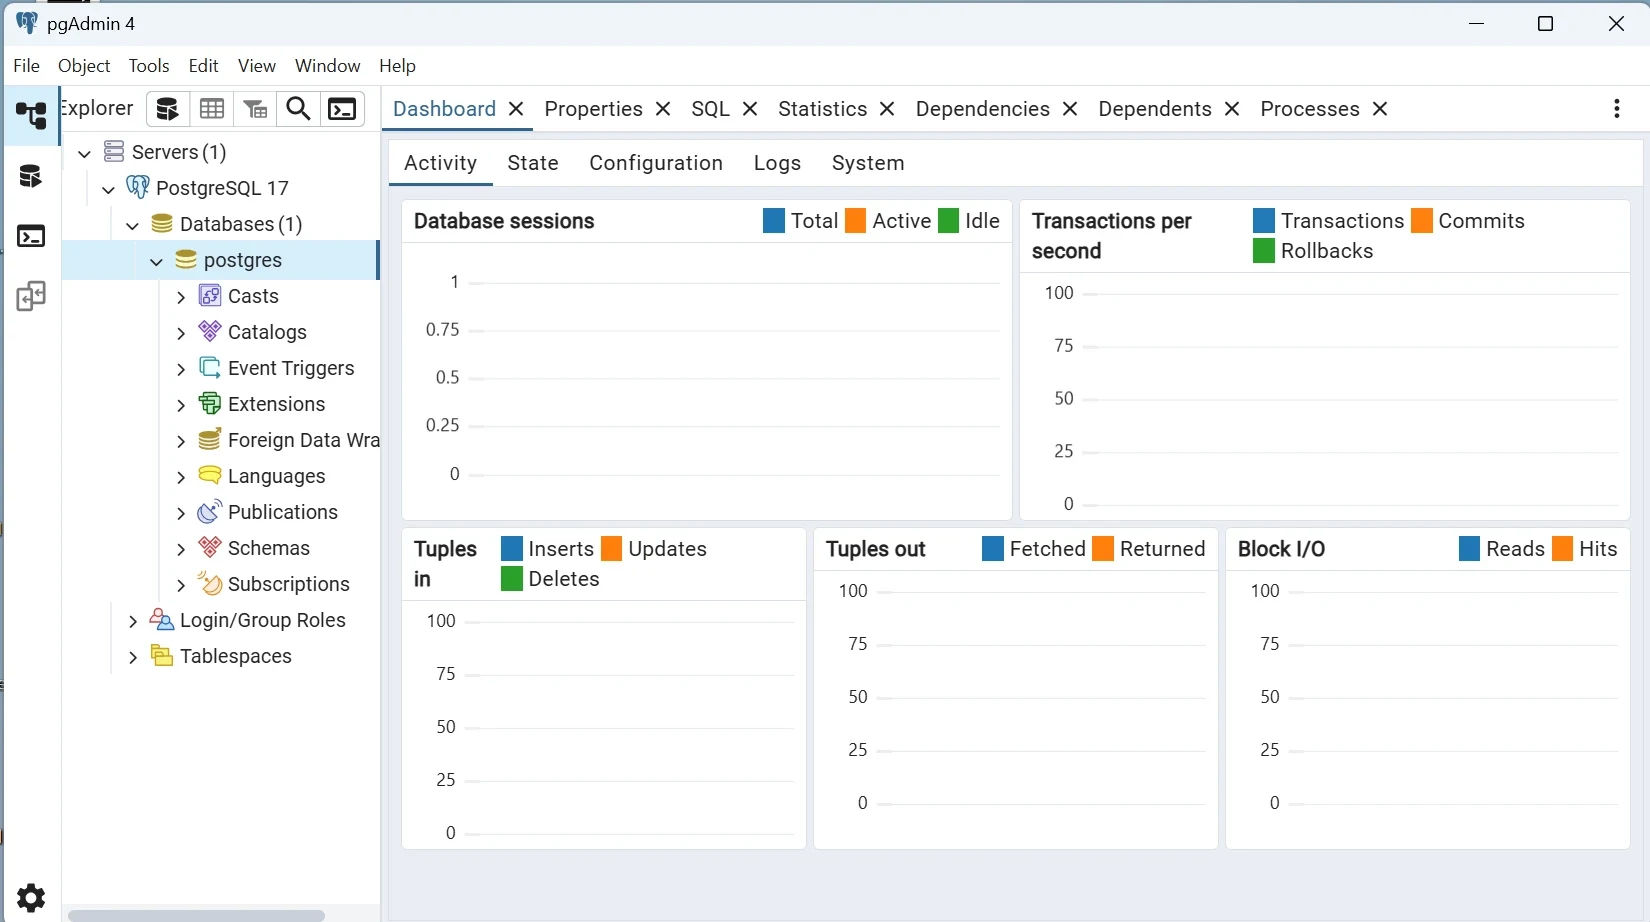
You’re now inside pgAdmin’s dashboard.
You can now manage your databases using the graphical interface.
Summary of What Was Done
In this guide, you successfully installed and configured PostgreSQL along with pgAdmin on Windows by following these steps:
-
Downloaded the Installer:
- Navigated to postgresql.org and selected the Windows operating system.
- Downloaded the official EDB interactive installer for Windows x86-64.
-
Configured Setup & Components:
- Launched the setup wizard and confirmed the default installation directory.
- Selected all core components: PostgreSQL Server, pgAdmin 4, Stack Builder, and Command Line Tools.
- Confirmed the default directory for database storage (Data Directory).
-
Configured Database Settings:
- Set a password for the default
postgressuperuser account. - Retained default port
5432and system default locale settings.
- Set a password for the default
-
Executed Installation:
- Reviewed the pre-installation configuration summary.
- Ran and completed the installation process.
-
Verified Installation:
- Launched pgAdmin 4 from the Windows Start Menu.
- Authenticated into the PostgreSQL server using the superuser password.
- Verified successful access to the pgAdmin dashboard to manage databases visually.
🚀 What's Next?
Now that PostgreSQL and pgAdmin are installed on your machine, it's time to set up your command-line environment so you can access PostgreSQL directly from your terminal.
👉 Next Up: Getting Started with PostgreSQL in the Terminal: Complete Setup Guide